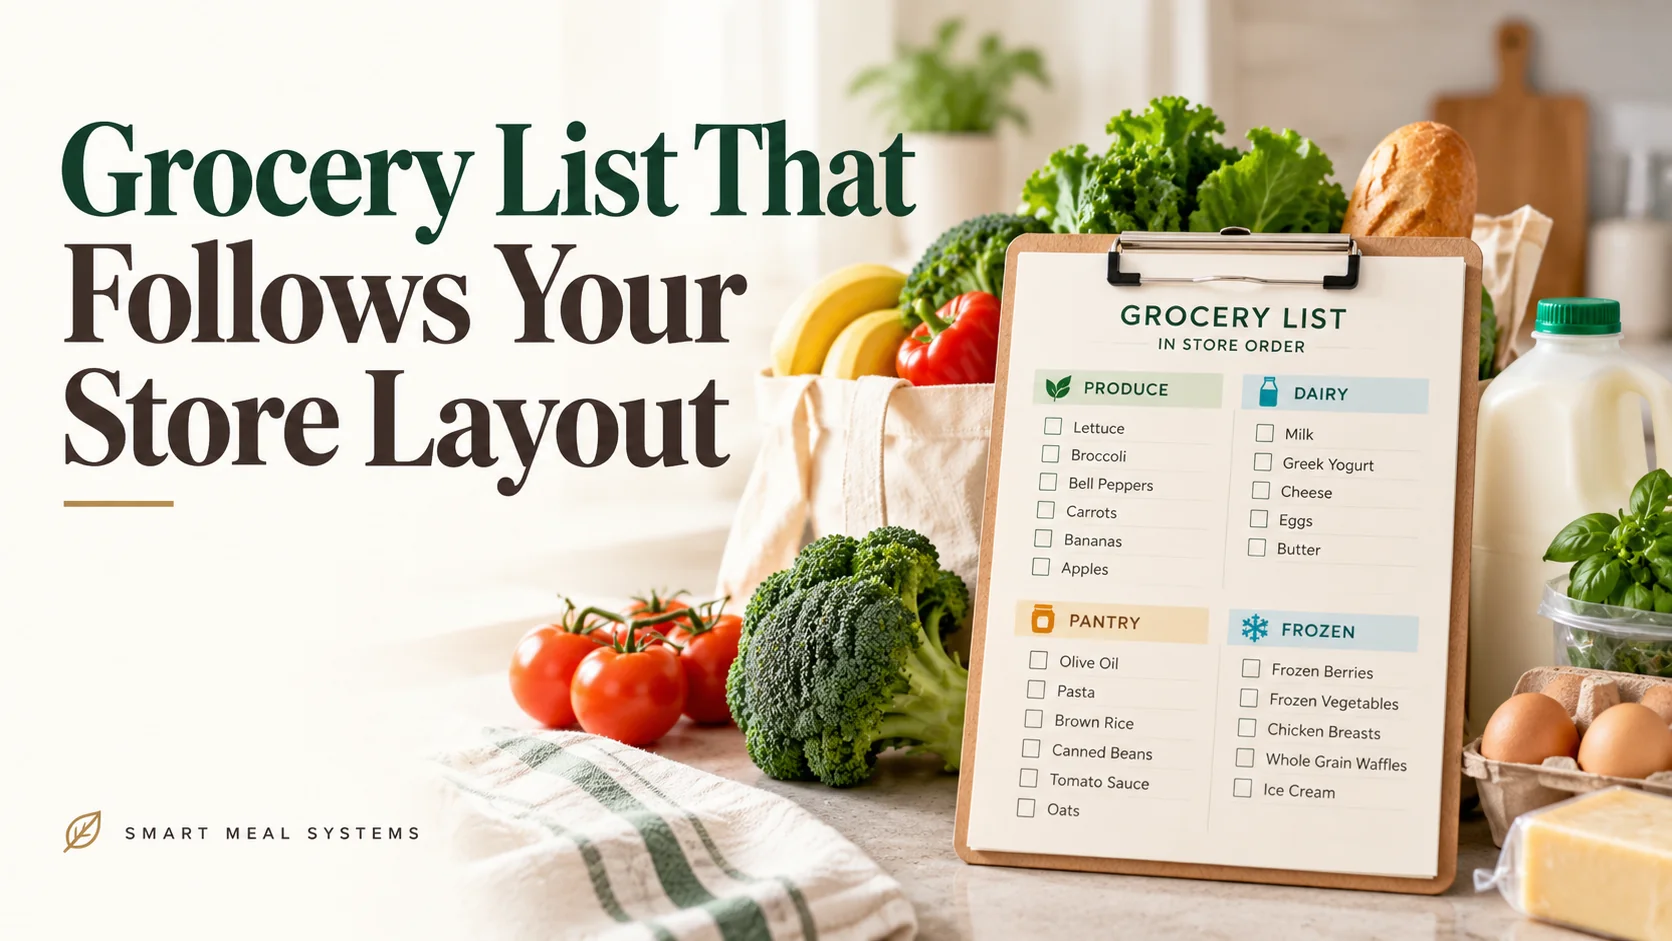
A grocery list written in the order you thought of things is a grocery list that sends you back and forth across the store. Milk at the far back wall, then bread near the entrance, then back to dairy for the eggs you forgot to write next to the milk.
It costs time, and it costs money, because every extra lap past the shelves is another chance to grab something that wasn’t on the list. A list organized by the layout of your store fixes both.
Why list order matters
- Faster trips. You walk through the store once, in one direction.
- Fewer forgotten items. Items are grouped, so gaps are easier to spot.
- Less impulse buying. You move through aisles only when the list tells you to.
- Easier to delegate. Anyone can shop from a well-organized list.
Step 1: Learn your store’s route
Most grocery stores are organized in a similar way, but each has quirks. The first time you do this, walk your usual store and write down the sections in the order you pass them.
A typical layout:
- Produce (usually near the entrance)
- Bakery and deli
- Meat and seafood
- Center aisles: canned goods, pasta, rice, cereal, baking, snacks, condiments, beverages
- Dairy and eggs (often at the back or side wall)
- Frozen foods
- Household and health items (varies)
Your store might put dairy first or frozen items near the entrance. Adjust the order to match yours. If you shop at more than one store, make one version for each.
Step 2: Choose your categories
Use the sections of your store as headings. A simple set works for most households:
- Produce
- Meat and fish
- Dairy and eggs
- Bakery and bread
- Canned and jarred
- Pasta, rice, and grains
- Baking and spices
- Breakfast and snacks
- Frozen
- Beverages
- Household and other
You can combine categories or split them to suit your store. The point is that the order on your list matches your path.
Step 3: Write the list from your meal plan
The list should come from the plan, not from memory. Work in this order:
- List the dinners you’ve planned.
- Under each, write the ingredients you’ll need.
- Check the fridge, freezer, and pantry. Cross off what you have.
- Move the remaining items into the correct store section.
- Add your staples line: eggs, milk, bread, fruit, and anything else you always run out of.
How to Plan Your Grocery List Around What’s Already in Your Kitchen explains the pantry check in more detail.
A sample list
Here’s a list for a week of tacos, pasta, sheet-pan chicken, and soup, organized by a typical store route.
Produce
- Onions (3)
- Garlic
- Bell peppers (2)
- Lettuce
- Tomatoes
- Potatoes (2 lb)
- Carrots (1 lb)
- Limes
- Bananas
Bakery and deli
- Tortillas
Meat and fish
- Chicken thighs (2 lb)
- Ground turkey (1 lb)
Pasta, rice, and canned
- Pasta
- Canned tomatoes (2)
- Black beans (2)
- Chicken broth
Dairy and eggs
- Shredded cheese
- Eggs
- Milk
Frozen
- Frozen peas
- Frozen broccoli
Other
- Salsa
- Dish soap
Notice that this takes about the same time to write as an unsorted list, but makes the trip much simpler.
Step 4: Keep a master list
If your meals repeat, much of your list will too. Make a master list once, organized by section, with everything you buy regularly. Each week:
- Print or copy the master list.
- Cross off what you don’t need.
- Add any new items for this week’s meals.
This is much faster than starting from scratch, and it prevents forgetting staples. A repeating rotation makes this even easier; see The 2-Week Rotating Dinner Menu and One Grocery List, Two Weeks of Dinners.
Step 5: Use a tool that does it for you
If sorting by hand is the part you dislike, let a tool handle it. The free Grocery List Generator organizes a list by category, and you can print it or keep it on your phone.
If you prefer paper, a printable grocery list with pre-labeled sections works the same way. See The Complete Guide to Meal Planning Printables for options.
Tips for a smoother trip
- Shop with a list, and stick to it. Add impulse items only if they truly belong.
- Eat first. A hungry shopper buys more.
- Do the perishables last. Pick up frozen and cold items at the end so they stay cold on the way home.
- Go at a quiet time if you can, so aisles are easier to navigate.
- Check your phone or list in the parking lot before you leave the store. A quick scan catches what you forgot.
- Use pickup or delivery if your store lets you reorder from a saved list.
Adapting for different situations
Shopping at multiple stores. Make a list per store. Put sale items and specialty goods on the right list.
Shopping with a partner. Share a digital list, or split the store into halves.
Shopping with kids. Give each child a section of the list to find.
Shopping online. Save your master list as a recurring order, then adjust each week.
Shopping for a party or holiday. Add a separate list for the event so it doesn’t blend into your weekly shop. Easy Holiday Hosting Menu System has an example approach.
Common mistakes
Writing items as you think of them. Group them as you go, or sort afterwards.
Ignoring what you already have. Check first.
Using a generic store layout. Your store’s route may differ.
Letting the list get long and vague. “Snacks” is not a list item; “crackers” is.
Forgetting quantities. Write how many or how much.
Your first week
- Walk your store and note the section order.
- Choose your categories.
- Write this week’s list from your meal plan.
- Save the list as a master template.
- Time your next trip and compare.
Make this easier
Turn this week’s plan into a sorted list in a few seconds with the free Grocery List Generator.
A list that follows your path through the store is one of the simplest changes you can make. It saves time, reduces forgotten items, and keeps the focus on what you came for.
Turn the idea into a system.
Keep Reading