A full freezer is not the same as a freezer plan. Plenty of people have a drawer of mystery containers and still end up ordering takeout, because on a busy night nothing in there has been thawed, nobody remembers what it is, and the one meal that sounds good needs four hours to defrost.
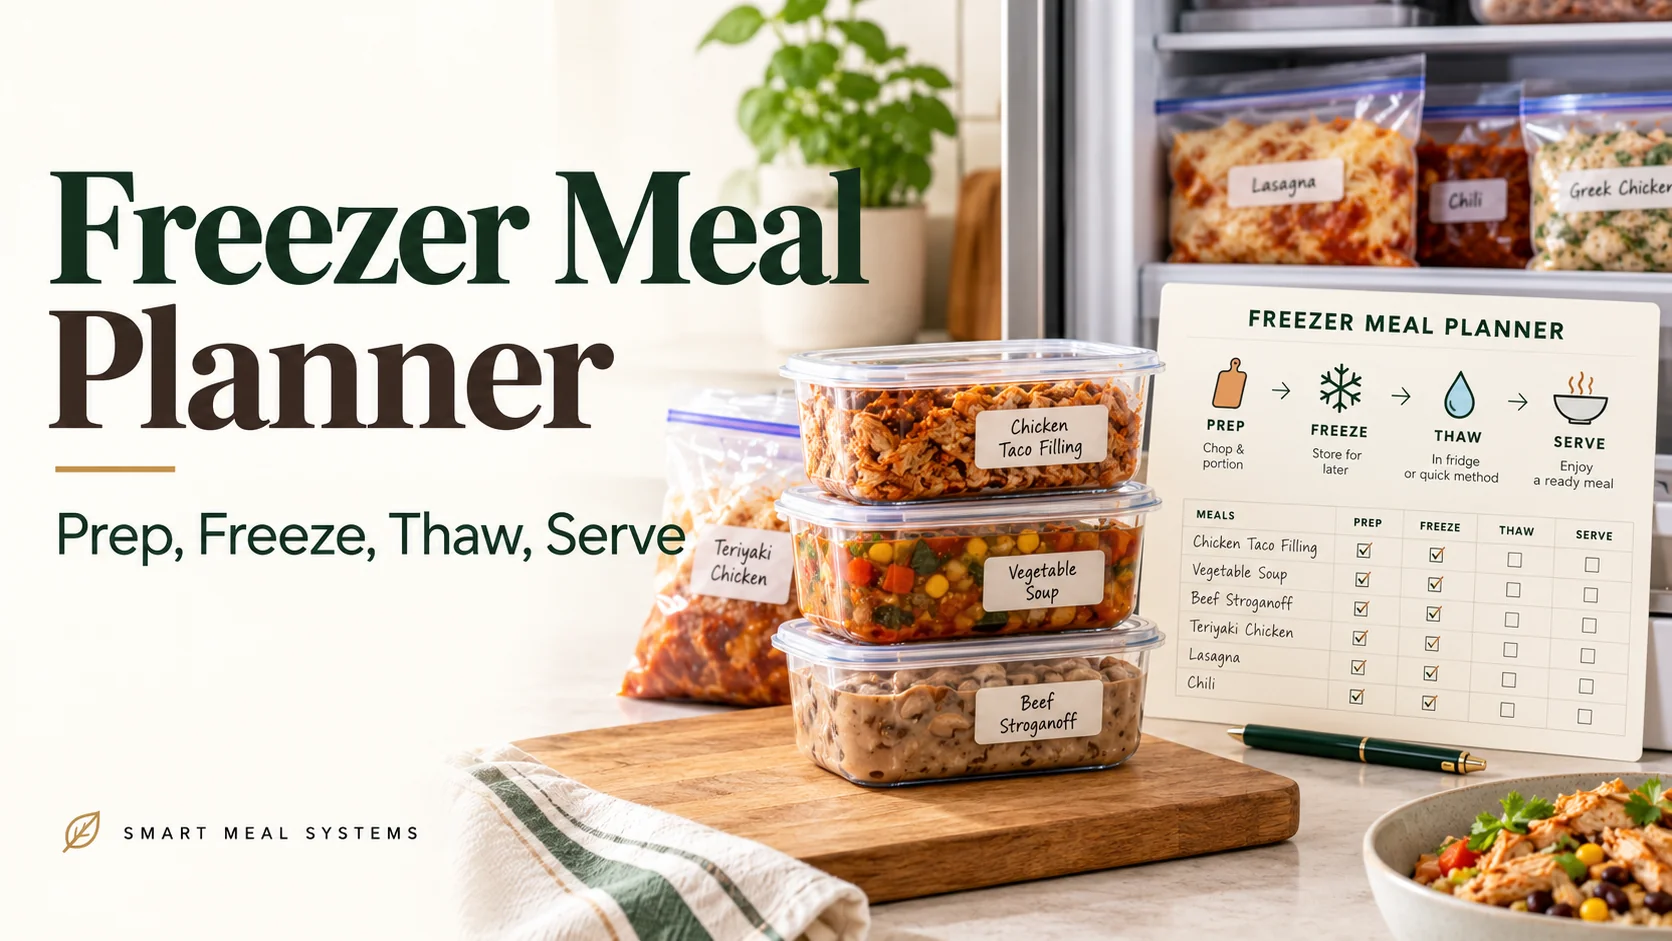
A freezer meal planner closes that loop. It connects four steps: prep, freeze, thaw, serve. When all four are planned, the freezer becomes a reliable source of dinners instead of a place where food goes to be forgotten.
The four stages
Think of each freezer meal as moving through four stages:
- Prep: decide what to make and cook or assemble it.
- Freeze: portion, label, and store it properly.
- Thaw: move it to the fridge in time.
- Serve: reheat and finish it.
Most failures happen at the third stage. The meal is there, but nobody remembered to thaw it. A planner fixes that.
Stage 1: Decide what to prep
Start by choosing meals that freeze well and that your household actually likes. Good options include:
- soups, stews, and chili
- pasta sauce and meatballs
- casseroles and baked pasta
- burritos and enchiladas
- marinated raw meat, ready to cook
- shredded or cooked chicken and pork
- breakfast sandwiches and burritos
For more ideas, see Summer Freezer Meals: Batch 10 Dinners in One Afternoon and the Make-Ahead Marinade System.
How many? For a first round, aim for four to six meals. That’s enough to cover a couple of busy weeks without overwhelming the freezer or your afternoon.
Stage 2: Prep and freeze
Cook or assemble the meals, cool them quickly, and portion them.
- Cool food quickly and get it into the freezer promptly rather than leaving it out. For general guidance, see How to Batch Cook: The Complete Guide.
- Portion by meal. Freeze in the amount your household eats at one sitting.
- Freeze flat in bags where possible so they thaw quickly.
- Remove air from bags to reduce freezer burn.
- Label everything. Write the name, date, number of servings, and a note on how to reheat.
A label might read: “Chicken enchiladas, 4 servings, 3/12. Thaw overnight; bake at 350°F for 30 min.” Writing the reheating note now saves you from guessing later.
Stage 3: Plan the thaw
This is the stage most people skip, and it matters most.
Safe thawing methods:
- In the refrigerator is the safest and most common method. Most meals need 12 to 24 hours; large items may take longer.
- In cold water, for smaller items, if you change the water regularly and cook right away.
- In the microwave, if you’ll cook the food immediately afterward.
- Directly from frozen, for some foods, such as soups, many casseroles, and some pre-cooked items that reheat from frozen.
Avoid thawing on the counter at room temperature. For specific rules for different foods, check a trusted food-safety source.
Schedule the thaw:
The easiest approach is to put it in your plan. When you write your week’s dinners, add a line the night before: “Thaw enchiladas.” A phone reminder works too.
| Dinner day | Thaw reminder |
|---|---|
| Tuesday | Monday evening: move to fridge |
| Thursday | Wednesday evening: move to fridge |
| Saturday | Friday evening: move to fridge |
Stage 4: Serve
Reheat until the food is steaming hot throughout. Some tips for better results:
- Soups and sauces: reheat on the stove and add a splash of broth or water if thickened.
- Casseroles: bake covered, then uncover at the end to crisp the top.
- Burritos and breakfast sandwiches: wrap in a paper towel and microwave, or crisp in a skillet or oven.
- Cooked meat: add moisture, such as broth or sauce, to prevent drying.
- Refresh with something fresh: herbs, lemon juice, a side salad, or a sprinkle of cheese.
A worked example: a two-week freezer plan
Say you make four meals in one afternoon and plan to use them over two weeks.
Prep session (Sunday, about 2 hours):
| Meal | Servings | Method |
|---|---|---|
| Turkey chili | 8 | Cook a big pot, divide into 2 bags |
| Chicken enchiladas | 8 | Assemble 2 pans, freeze 1 |
| Meatballs and sauce | 8 | Bake meatballs, freeze with sauce |
| Breakfast burritos | 6 | Roll, wrap, freeze |
Planned for the next two weeks:
| Day | Dinner | Thaw |
|---|---|---|
| Week 1, Tuesday | Chili over baked potatoes | Monday evening |
| Week 1, Thursday | Meatballs and pasta | Wednesday evening |
| Week 1, Saturday | Fresh cook | |
| Week 2, Tuesday | Enchiladas | Monday evening |
| Week 2, Thursday | Chili (second bag) | Wednesday evening |
| Anytime | Breakfast burritos | Take one the night before |
You prepped once and have four easy dinners, plus breakfasts, on the busiest nights.
Keep an inventory
A planner is only useful if you know what’s in the freezer. Keep a list, with the item, date, and portions, and update it whenever you add or remove something. The Free Printable Freezer Inventory Sheet and the 3-Column Freezer Rotation System are designed for this.
Eat the oldest first. Put new items at the back and older ones in front, or use the rotation sheet’s three columns.
How long freezer meals keep
Food kept at 0°F is generally considered safe indefinitely, but quality declines over time. As a rule of thumb, most cooked meals have the best flavor and texture within two to three months. Plan to use your freezer meals within that window. See the storage chart in How to Batch Cook: The Complete Guide for more detail.
Fit it into your weekly plan
A freezer meal should sit in your plan like any other dinner, ideally on your busiest night.
- Put freezer meals on the hardest days.
- Keep one freezer meal as a fallback in case a day goes badly.
- Replace what you use. Each time you remove a meal, note it on your list and consider adding one to your next prep session.
How to Meal Plan for the Week explains how to build the rest of the week around these.
Common mistakes
Forgetting to thaw. Schedule it.
Not labeling. Write the name, date, and reheating note.
Freezing meals nobody likes. Test a portion first.
Overfilling the freezer. Air flow matters, and you need to see what’s in there.
Keeping food too long. Use the oldest first.
Making only one type of meal. Mix soups, casseroles, and breakfasts.
Your first freezer plan
- Choose four meals your household likes.
- Cook them in one session.
- Portion, label, and freeze them.
- Write the dinners and thaw reminders into your weekly plan.
- Update your inventory as you use them.
Make this easier
Turn your prep list into labels and a thaw schedule with the free Freezer Meal Planner, then place those dinners on the right nights with the Dinner Rotation Builder.
A freezer plan is a small investment that pays off on the nights you least want to cook. Decide what to make, schedule the thaw, and dinner is waiting.
Turn the idea into a system.
Keep Reading